AV for Photoshop CS6 205 - Photo Retouching and Adjustment
Learn how to make your best photos even better in this 54-tutorial course on Photo Retouching and Adjustment with pro photographer and popular Photoshop educator, Dan Moughamian.
This course starts with a strong foundation demonstrating how to customize Photoshop’s key settings, menus and keyboard shortcuts specifically for photographic workflows. Here, those new to Photoshop will gain valuable insights into some important concepts such as color mode, color spaces, profiles, and bit depth before diving into Photoshops powerful retouching features.
Next, you’ll learn how to leverage some of Photoshop’s most powerful tools and filters! You will see how easy it can be to accurately refine the detail, color, and composition in your photos, using popular tools like the Healing Brushes, Patch tool, Blend Modes and the new Blur Gallery. Dan also reviews the top methods for making and refining selections, as well as how to magically remove unwanted objects from your photos. Then you will takes these strategies to the next level, as you learn how to harness Photoshop’s super powerful amazing Content Aware functionality. You’ll learn how to effortlessly scale, move and patch images with this new intelligent algorithm to create seamless edits of even the trickiest photos.
Dan brings it all together by demonstrating the most useful Adjustment Layers and Smart Filters for photographers. He demonstrates how to get your photos to look exactly the way you remember them BEFORE capturing them. You will see how easy it can be with Photoshop, to make the digital version of your scene, look just how you remember it! You’ll even learn how to “heighten reality” by creating fun Tilt-Shift effects, flattening perspectives with the new Adapative Wide Angle filter, adjusting and replacing colors, and even applying popular HDR effects to your photos!
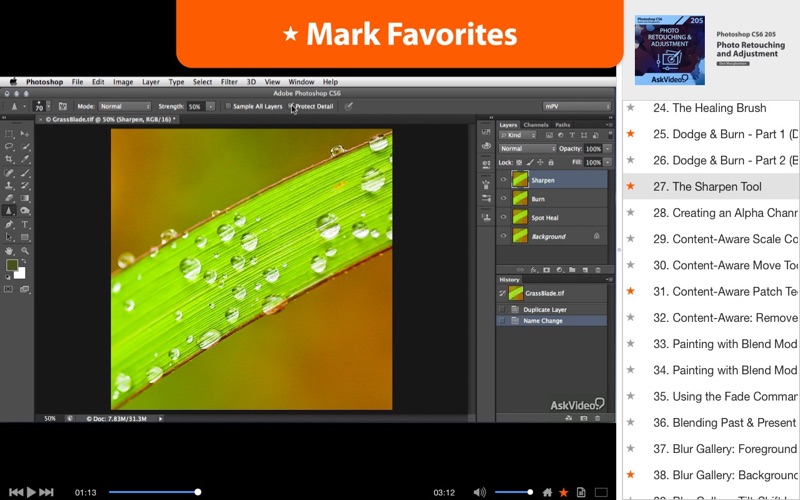
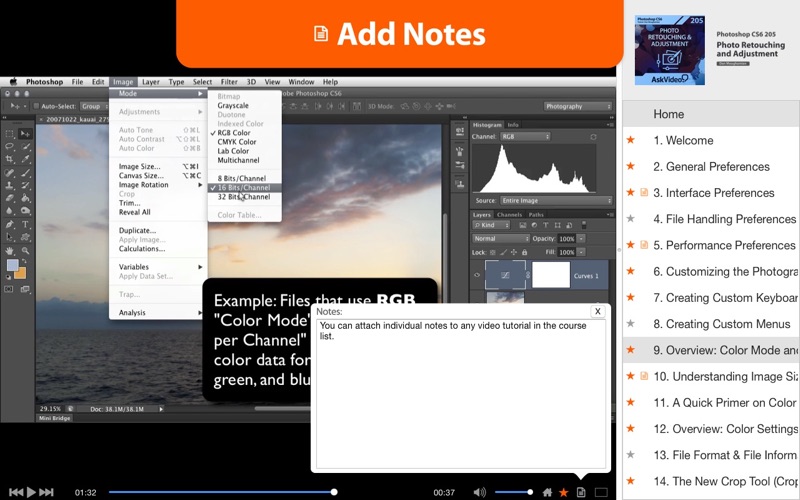
Table of contents:
1. Welcome
2. General Preferences
3. Interface Preferences
4. File Handling Preferences
5. Performance Preferences
6. Customizing the Photography Workspace
7. Creating Custom Keyboard Shortcuts
8. Creating Custom Menus
9. Overview: Color Mode and Bit Depth
10. Understanding Image Size
11. A Quick Primer on Color Spaces and Profiles
12. Overview: Color Settings
13. File Format & File Information Tips
14. The New Crop Tool (Crop & Straighten)
15. Creating and Refining Lasso Selections
16. Creating and Refining Quick Selections
17. Creating and Refining Color Range Selections
18. Generating Layer Masks from Selections
19. The Clone Stamp Tool - Part 1
20. The Clone Stamp Tool - Part 2
21. The Clone Stamp Tool - Part 3
22. The Patch Tool
23. The Spot Healing Brush
24. The Healing Brush
25. Dodge & Burn - Part 1 (Dodge Tool)
26. Dodge & Burn - Part 2 (Burn Tool)
27. The Sharpen Tool
28. Creating an Alpha Channel for Local Corrections
29. Content-Aware Scale Command
30. Content-Aware Move Tool
31. Content-Aware Patch Technique
32. Content-Aware: Remove Power Lines and Similar Distractions
33. Painting with Blend Modes: Vivid Light
34. Painting with Blend Modes: Soft Light
35. Using the Fade Command
36. Blending Past & Present with the History Brush
37. Blur Gallery: Foreground Blurs
38. Blur Gallery: Background Blurs
39. Blur Gallery: Tilt-Shift Look
40. Edge Sharpening with High Pass
41. A Few Words on Adjustment & Filters
42. Adjustment Layer: Balancing Contrast with Levels
43. Adjustment Layer: Perfecting Contrast with Curves
44. Smart Filter: Shadows and Highlights
45. Smart Filter: Flattening Perspective with Adaptive Wide Angle
46. Image Adjustment: 32 Bit HDR Toning
47. Image Adjustment: Replace Color
48. Adjustment Layer: Color Toning with Photo Filter
49. Adjustment Layer: Changing Multiple Colors with Hue & Saturation
50. Adjustment Layer: Tweaking Color Intensity with Vibrance
51. Adjustment Layer: Black & White
52. Adjustment Layer: Channel Mixer (Black & White)
53. Converting Colors for Web Output
54. Closing


